The heater core is often described as the "mini-radiator" hidden deep within the bowels of your vehicle’s dashboard. Its role is simple: it circulates hot engine coolant to provide warmth for the cabin and to defrost the windshield. However, because it is encased within the HVAC (Heating, Ventilation, and Air Conditioning) housing, identifying a leak can be a daunting prospect for many DIY enthusiasts. The traditional thought is that you must rip out the entire instrument panel just to see if there is a pinhole leak. In 2026, professional diagnostic techniques have become much more streamlined.
The "Sensory Check": Using Your Eyes, Nose, and Touch
Before reaching for the toolbox, the first step in a professional diagnosis is a comprehensive sensory inspection of the cabin. Coolant, which typically contains ethylene glycol, has a very distinct, sickly-sweet odor that is often compared to maple syrup. If you catch a whiff of this scent specifically when the heater is turned on, it is a primary indicator that the core is weeping. Furthermore, keep an eye on your windshield. If it develops a greasy, smeary fog that won't clear even with the defroster on high, you are likely looking at atomized coolant vapor being blown through the vents. Finally, check the passenger-side footwell. Because most heater cores are positioned on the right or left of the center console, a leak will often manifest as damp, sticky carpet.
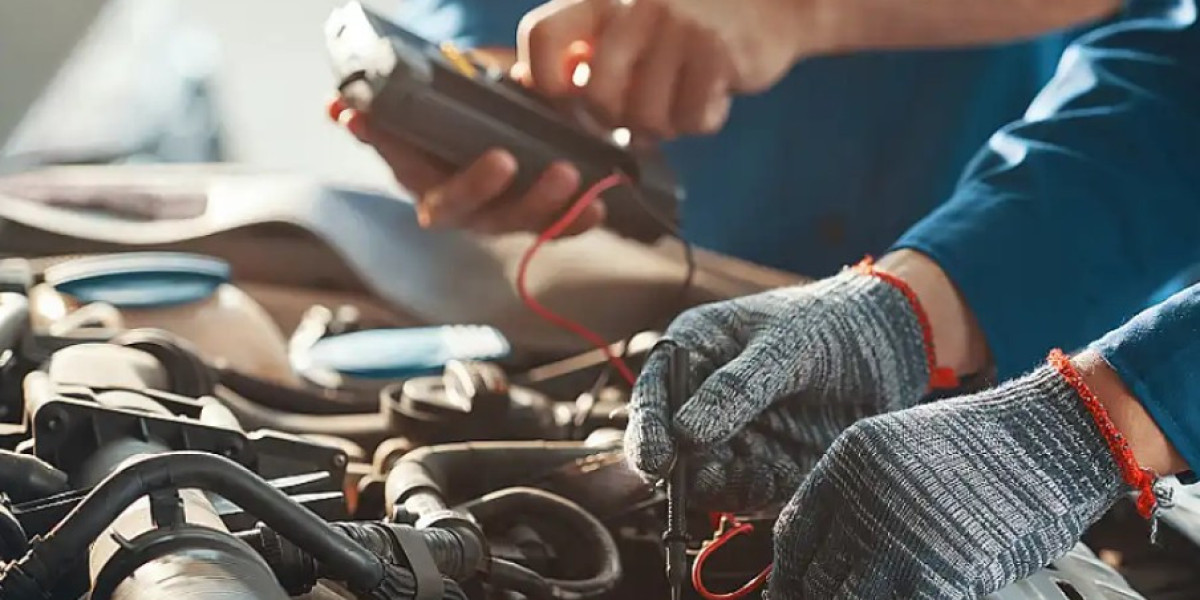
The Pressure Test: Quantifying the Cooling System's Integrity
If the sensory signs are present but you need definitive proof, the cooling system pressure test is the industry gold standard. This involves using a specialized hand pump and an adapter that attaches to the radiator cap or coolant expansion tank. By pressurizing the system to the manufacturer’s specified rating—usually between 14 and 16 psi—you simulate the stresses of an engine at operating temperature without the risk of burns. If the needle on the gauge begins to drop, the system is losing pressure. If there are no visible puddles under the engine bay or drips from the radiator, that lost pressure is almost certainly escaping into the heater core housing. A car mechanic course teaches students not just how to use this tool, but how to interpret the results to differentiate between a simple hose leak at the firewall and an internal core failure.
The Heater Hose Comparison: Analyzing Thermal Differentials
Another clever way to diagnose heater core health without dashboard removal is to perform a thermal analysis on the heater hoses themselves. Locate the two hoses that pass through the firewall into the cabin. With the engine at normal operating temperature and the heater set to "Full Hot," carefully feel both hoses (or use an infrared thermometer). Both hoses should be hot and relatively close in temperature. If one hose is scaldingly hot and the other is cold or merely lukewarm, it indicates a lack of circulation through the core. While this can sometimes mean a clog rather than a leak, it often precedes a failure. This type of non-invasive thermal testing is a staple of modern diagnostics, providing a clear picture of the internal state of the HVAC system.
The Bypass Method: Isolation for Final Confirmation
When you are 90% certain the heater core is the culprit but want 100% certainty before quoting an expensive replacement, the "bypass method" is the ultimate diagnostic trick. This involves disconnecting the two heater hoses from the firewall and connecting them together using a simple 5/8" or 3/4" coupler and hose clamps. This effectively "loops" the coolant back to the engine, completely isolating the heater core from the cooling system. If the sweet smell disappears, the fogging stops, and the coolant level in the reservoir stabilizes, you have successfully isolated the leak to the heater core. This method is often used by professionals as a temporary fix to keep a vehicle on the road while waiting for parts.
The Endoscopic Inspection: Seeing Through the Vents
In the high-tech landscape of 2026, the use of borescope cameras has made the "no-removal" diagnosis even easier. These small, flexible cameras can be threaded through the center vents or through the blower motor housing to get a direct visual on the heater core's fins. A technician can look for the tell-tale signs of a leak: bright-colored stains (usually pink, green, or blue depending on the coolant type), white "crusty" mineral deposits, or actual pooling liquid at the base of the heater box. This visual evidence is invaluable for explaining the necessity of a repair to a customer. Being able to operate and interpret data from such diagnostic imaging tools is a sophisticated part of modern automotive training.
Conclusion: Mastering the Art of Non-Invasive Diagnostics
Diagnosing a leaking heater core doesn't have to start with a demolished dashboard. By combining sensory observations, pressure testing, thermal analysis, and isolation techniques, you can confirm a failure with high confidence while keeping the vehicle's interior intact. This logical, step-by-step approach not only saves time but also builds trust with clients by providing tangible evidence before recommending a labor-intensive replacement.